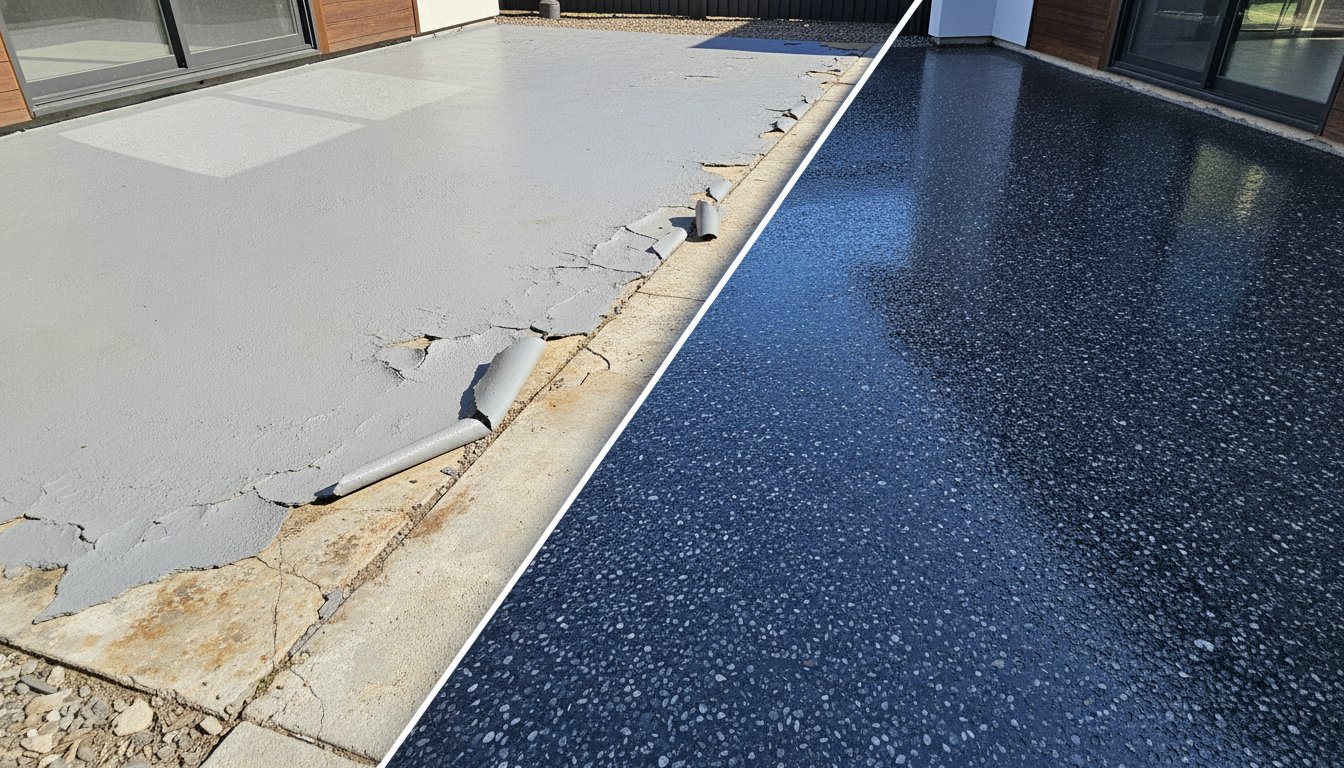
That patchy, flaking mess on your garage floor isn't just an eyesore; it's a total mechanical bond failure that no amount of "touch-up paint" or cheap patch kits can rescue. If you're tired of looking at those grey flakes every time you pull in the driveway, you're not alone. Most homeowners feel a mix of embarrassment and genuine frustration when their investment starts lifting after just one season. You likely fear wasting more money on another failed fix that won't hold up. Learning how to fix peeling garage floor epoxy starts with accepting that the surface isn't the problem; it's what's happening underneath that counts.
We understand that technical jargon like "acid etching" versus "diamond grinding" can be incredibly confusing for anyone just wanting a clean workspace. This guide cuts through the noise to provide a professional restoration roadmap. We'll show you exactly why your initial coating failed and the specific steps needed to transform your garage into a durable, gallery-quality space. From selecting industrial-grade materials to mastering the mechanical bond, you'll discover how to create a floor that stands up to hot tires and chemical spills for the long haul.
Key Takeaways
- Understand why "hot tire pickup" causes coatings to fail and how a true mechanical bond ensures your new floor stays put.
- Apply the "10% Rule" and the putty knife test to decide whether to patch small areas or invest in a total professional redo.
- Master the professional methodology for how to fix peeling garage floor epoxy using heavy-duty diamond grinders to reach healthy concrete.
- Differentiate between thin, water-based DIY kits and the industrial 100% solids systems required for a gallery-quality finish.
- Explore specialized solutions like Resin-Bound Stone for durable, breathable surfaces that eliminate the risk of future peeling.
The Science of Failure: Why Your Garage Floor Epoxy is Peeling
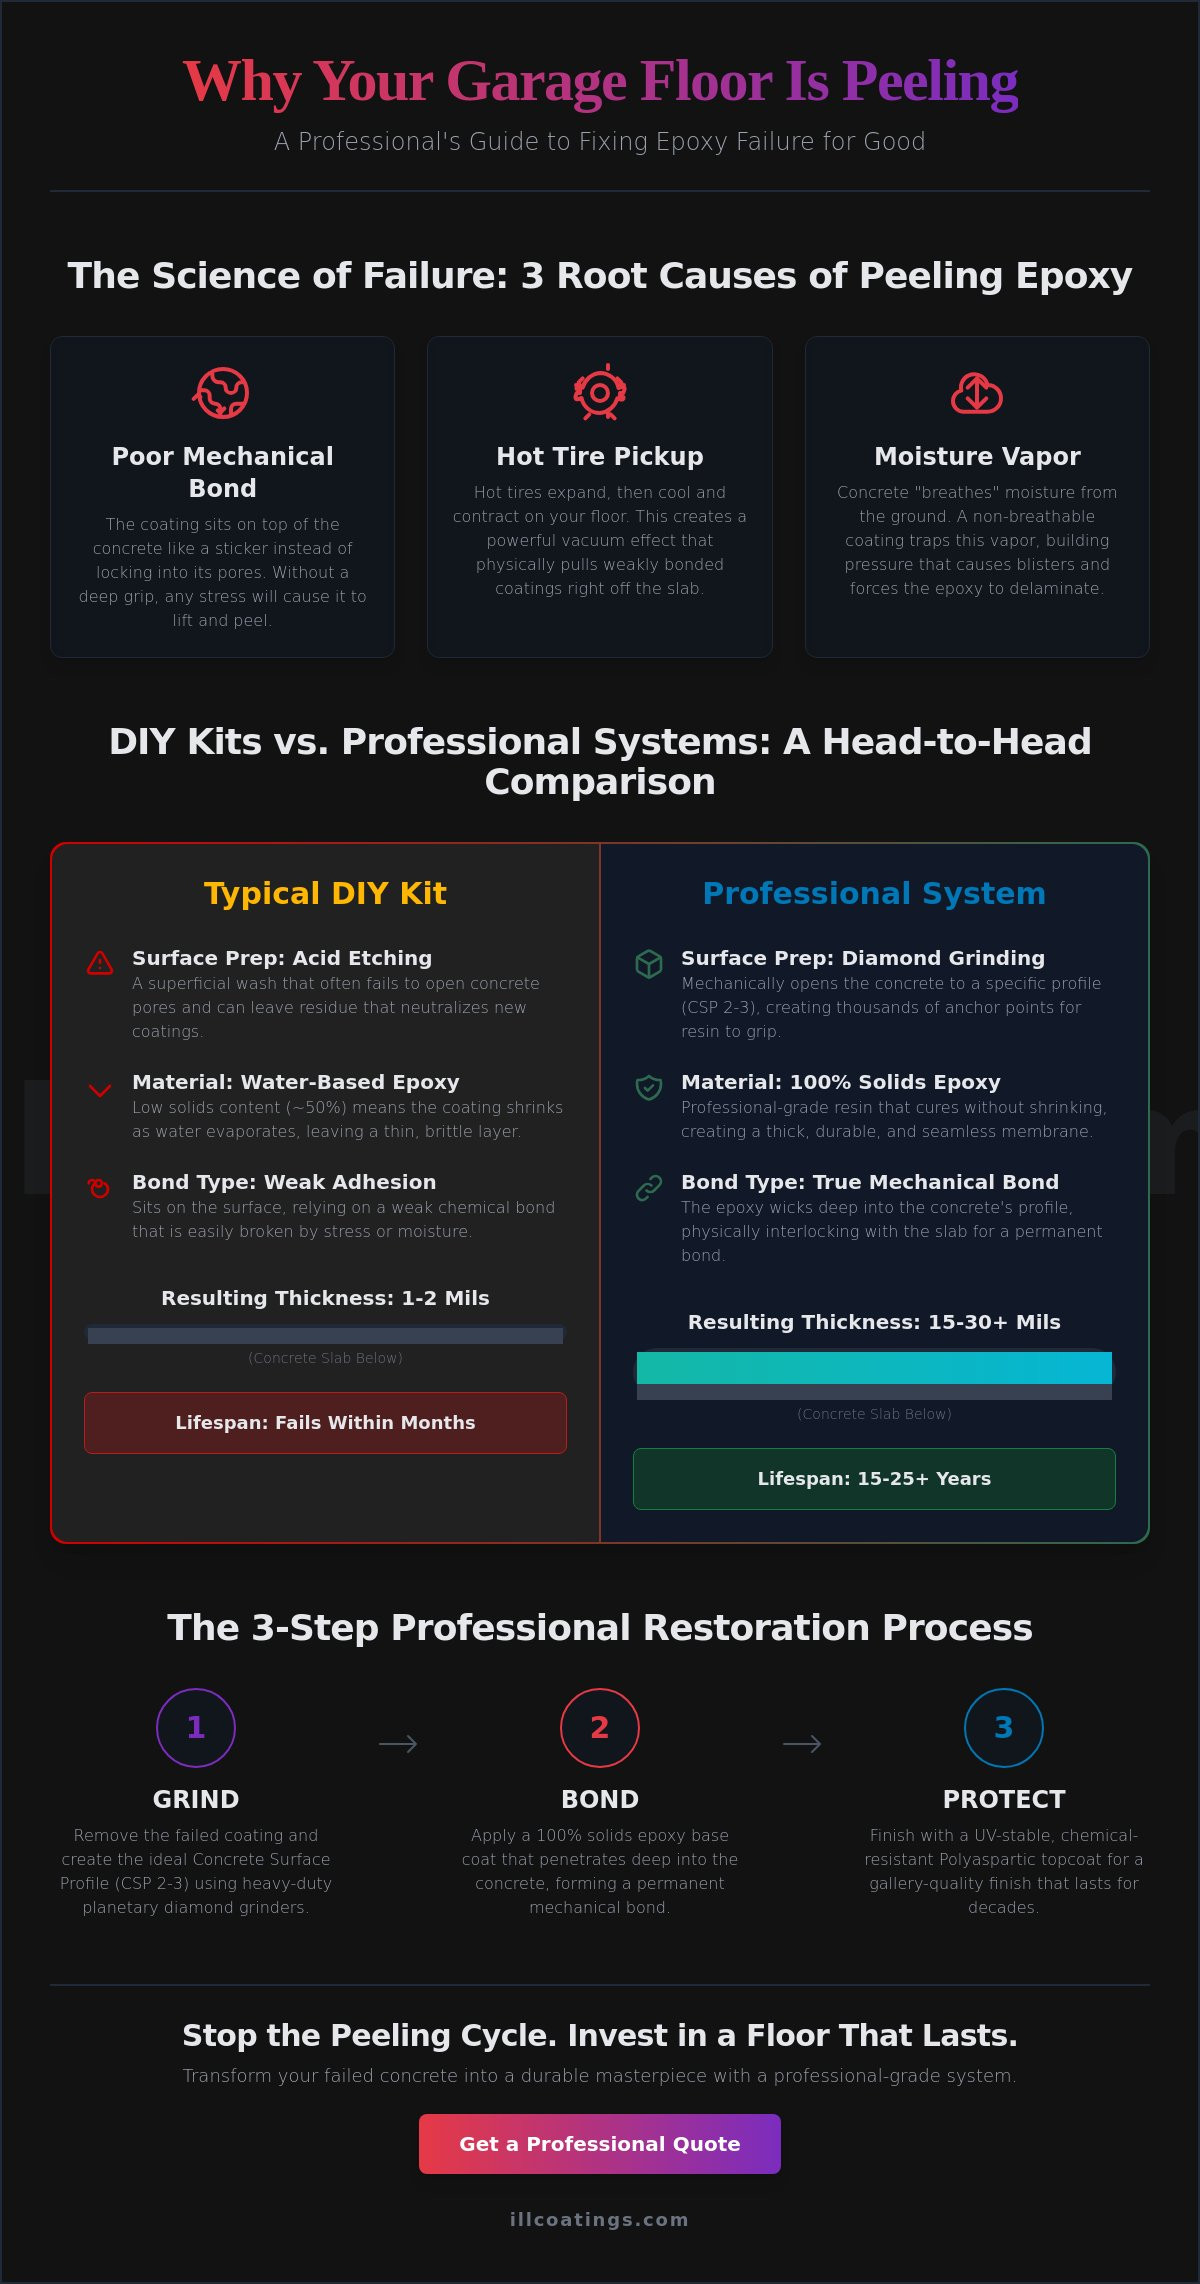
Your epoxy floor isn't just a layer of paint; it's supposed to be a structural extension of your concrete slab. When we talk about a mechanical bond, we're describing the physical interlocking of resin deep into the microscopic pores of the concrete. Think of it like thousands of tiny anchors gripping the stone. If those anchors can't find a way in, the coating merely sits on top, waiting for the first sign of stress to fail. This lack of penetration is the root cause when homeowners search for how to fix peeling garage floor epoxy. Surface-level peeling usually points to poor cleaning or contaminants, while deep-layer delamination suggests the bond was never established in the first place.
If you've noticed the epoxy lifting specifically where you park your car, you're witnessing the hot tire pickup phenomenon. As you drive, your tires accumulate significant heat and expand. When you park, those tires cool and contract, literally grabbing the floor with a vacuum-like grip. If the epoxy is a low-quality water-based kit or poorly bonded, the cooling rubber exerts enough force to pull the coating right off the slab. It’s a physical tug-of-war that leaves your garage looking patchy and neglected. This isn't just a cosmetic flaw; it's a sign that your coating has lost its structural integrity.
Moisture Vapor Transmission (MVT) is the silent killer of many garage coatings. Concrete is essentially a hard sponge that breathes. Ground moisture travels upward through the slab as vapor. If you seal that moisture in with a non-breathable epoxy without proper testing, the vapor pressure builds until it creates "bubbles" or blisters from beneath. This hydrostatic pressure is relentless; it will eventually win, forcing the epoxy to detach from the substrate in large, brittle flakes. Understanding how to fix peeling garage floor epoxy requires addressing these invisible forces before the new resin even touches the floor.
The Acid Etching Myth
Many DIY kits suggest a quick splash of muriatic acid is enough to prep your floor. This is a dangerous misconception. Acid etching often fails to open the pores deeply enough for high-solids resin to penetrate, and leftover acid residue can actually neutralize your new coating before it even cures. Professional grinding concrete with planetary diamond grinders is the only reliable method to achieve a Concrete Surface Profile (CSP) of 2-3, ensuring the resin can bite into the slab.
Hydrostatic Pressure and Concrete Moisture
If your garage floor feels damp or shows white powdery efflorescence, your slab might be "inhaling" water from the soil. You can perform a simple plastic sheet test by taping a 2x2 foot piece of heavy plastic to the floor for 48 hours. If droplets form under the plastic, you have a moisture problem that will reject traditional epoxy. Unsealed concrete acts like a wick. If the vapor drive is too high, your floor was never a good candidate for a standard coating without a specialized moisture vapor barrier.
DIY Kits vs. Professional Systems: The Bond Factor
Walking into a big-box store and grabbing a $100 kit might seem like a bargain, but it’s often the start of a multi-thousand-dollar mistake. The primary difference between a DIY failure and a professional success lies in the "solids content" and the preparation method. Most retail kits are water-based, meaning they rely on evaporation to cure. When homeowners ask how to fix peeling garage floor epoxy, they are often surprised to learn that the product they bought was destined to fail from day one. Professional systems use 100% solids epoxy resins that don't shrink, creating a thick, resilient barrier that actually wicks into the concrete pores.
If you use a low-solids kit, then the resulting coating is simply too thin to withstand the weight of a modern SUV. While a DIY layer might only be 1 to 2 mils thick, a professional garage floor epoxy system typically measures between 15 and 30 mils. This added mass isn't just for show; it provides the structural depth needed to resist impact and abrasion. To finish the transformation, professionals apply a polyaspartic topcoat. Unlike standard epoxy, polyaspartic is UV-stable and chemically resistant, ensuring your floor won't yellow or soften when it comes into contact with road salt or gasoline. This high-performance layer is what allows a professional restoration to last 15 to 25 years while DIY versions peel within months.
Understanding Solids Content
When a water-based epoxy cures, it loses roughly 50% of its thickness as the water evaporates into the air. This leaves behind a brittle, thin film that struggles to stay bonded. Professional 100% solids epoxy stays exactly as thick as the moment it was squeegeed onto the slab. The logic is simple: if the resin is 100% solids, then the bond is permanent because there is no shrinkage to pull the material away from the concrete's internal structure.
The Importance of Industrial Grinding
Concrete naturally develops "laitance," which is a weak, milky layer of sediment on the surface. Acid etching, the common DIY prep method, rarely penetrates this layer. It leaves the concrete feeling smooth, which is a recipe for failure. We use 600-pound planetary diamond grinders to strip away the laitance and reach the strong, healthy concrete underneath. This creates a texture similar to 60-grit sandpaper, providing the perfect "tooth" for the resin. Because we prioritize safety, our equipment utilizes industrial HEPA filtration systems to meet OSHA silica dust standards, keeping your home pristine during the grind. Understanding how to fix peeling garage floor epoxy means recognizing that a clean, ground surface is the only way to achieve a lifelong bond.
Should You Patch or Replace? Evaluating the Damage
Deciding how to fix peeling garage floor epoxy often starts with a single question: can I just fix the ugly spots? To answer this, we use the 10% Rule. If more than 10% of your garage floor is currently peeling, flaking, or bubbling, a total restoration is your only viable path forward. Small patches might hide the immediate problem, but they rarely address the underlying cause. When one area fails, it’s usually a warning shot that the rest of the floor is waiting to follow. You aren't just dealing with a surface blemish; you're dealing with a systemic failure of the mechanical bond across your entire slab.
Grab a stiff putty knife and head to a "healthy" section near a peeling edge. Slide the blade firmly against the concrete and try to get under the epoxy. If the coating lifts with minimal effort or continues to flake away as you push, the integrity of the entire floor is compromised. Even if you manage to stick a patch in one spot, you’ve created a "ledge." This raised edge is a massive weak point. Every time you drive over it or drag a toolbox across the floor, that ledge catches, leading to further chipping and premature wear. A patch is a temporary bandage on a wound that requires surgery.
Spot Repair vs. Full Resurfacing
There is a simple framework for your decision. If the failure was caused by a localized event, like a battery acid spill or a heavy impact that gouged the resin, a spot repair might work. However, if the peeling is happening in traffic areas or near the garage door, the original preparation was likely flawed. The aesthetic cost is also high. Because epoxy batches and UV exposure vary, patches never truly blend with the original floor. The "if-then" logic of ROI is clear here: if you choose to patch a floor with poor adhesion now, then you will likely be paying for a full professional redo within the next 12 months.
Testing for Total Failure
To confirm if your floor is a candidate for a full replacement, perform the Tape Test. Clean a three-foot square section of "good" epoxy, apply a strip of heavy-duty duct tape, and rip it up with one fast motion. If any epoxy sticks to the tape, your bond is non-existent. Check the back of any peeled flakes for a fine "white dust." This is laitance, that weak top layer of concrete we discussed earlier. If you see it, the epoxy didn't fail; the concrete surface itself gave way because it wasn't ground down to the aggregate. While these tests are helpful, a professional assessment is the only way to guarantee a permanent fix that transforms your space into a gallery-quality environment.
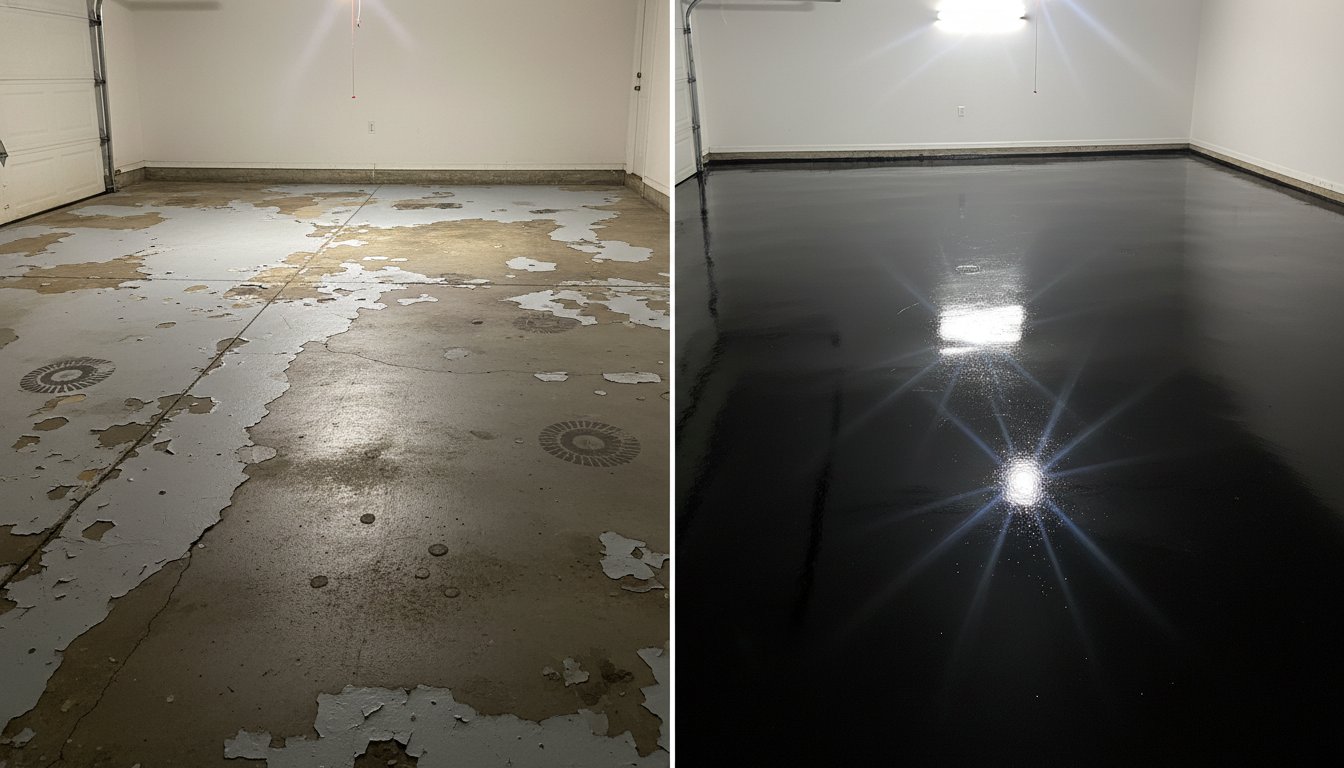
The Professional Restoration Process: From Grinding to Gallery Finish
Restoring a failed floor is a meticulous sequence of industrial craftsmanship. If your goal is to understand how to fix peeling garage floor epoxy for the last time, you must look past the surface and focus on the substrate. A professional restoration isn't a single application; it's a multi-layered system designed to withstand decades of abuse. The process begins by completely removing the old, flaking material and reaching the healthy concrete beneath. This isn't a weekend project; it's a high-stakes mission to reclaim your garage’s potential and ensure your investment never lifts again.
- Step 1: Mechanical Grinding. We use planetary diamond grinders to strip away failed coatings and open the concrete pores for maximum penetration.
- Step 2: Crack and Spall Repair. High-strength polyurea fillers are injected into pits and cracks to create a seamless, level surface that moves with the slab.
- Step 3: Prime Coat. A moisture-tolerant, deep-wicking epoxy resin acts as the primary anchor, wicking into the concrete to prevent future delamination.
- Step 4: Base Coat and Decorative Flakes. A thick base coat is applied, followed by a full broadcast of vinyl flakes for texture and impact resistance.
- Step 5: Polyaspartic Topcoat. This industrial shield provides the final scratch-resistant and UV-stable finish that protects against hot tires and chemicals.
Mechanical Preparation: The Heavy Lifting
We approach preparation as an art form rather than a chore. Our team grinds the slab until we achieve a "salt and pepper" aggregate look, which signifies we've reached the strongest part of the concrete. While most DIY attempts ignore the perimeter, we hand-grind every edge and corner to ensure the bond is uniform from wall to wall. We understand you care about your belongings, so we utilize industrial HEPA-filtered vacuum systems to keep the process virtually dustless. If you want a floor that looks like a showroom, you need professional grinding concrete services that respect your home as much as you do.
The Multi-Layer Advantage
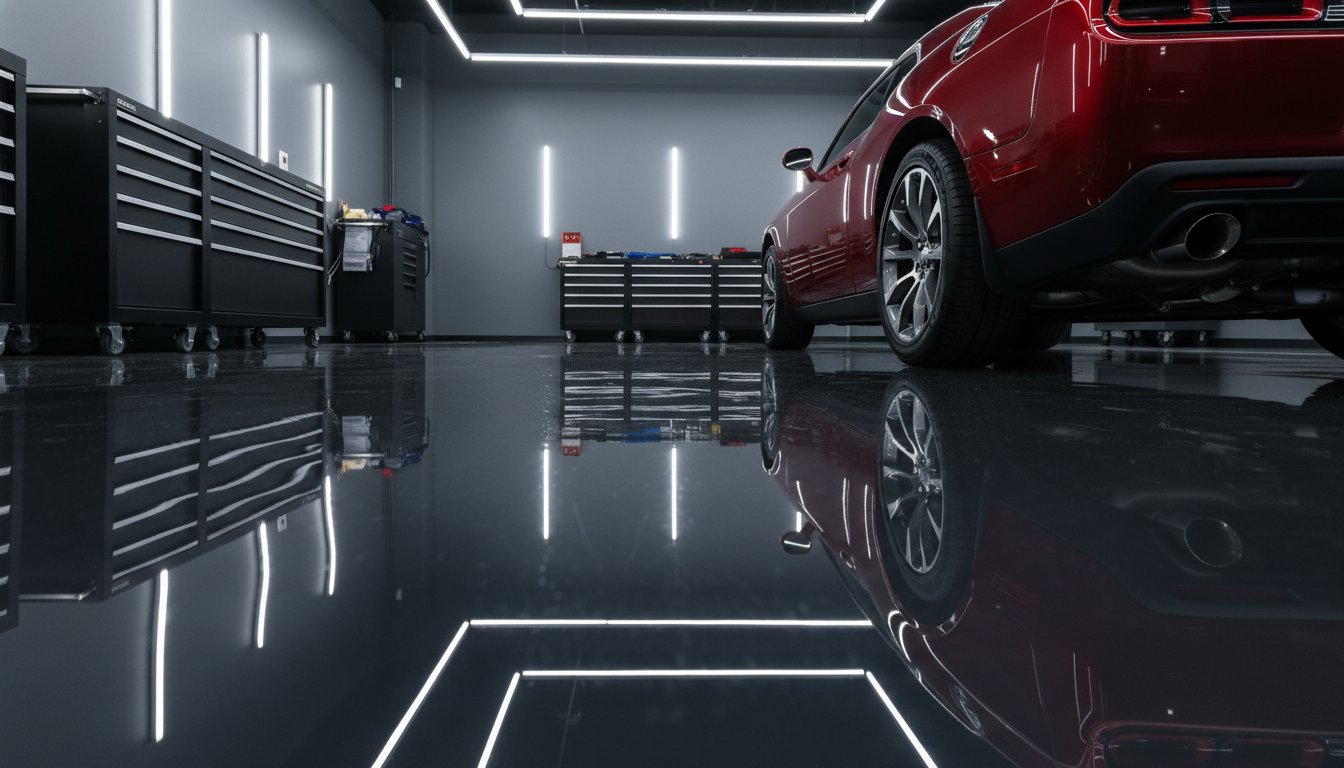
A single coat of paint is a recipe for disaster in a high-traffic environment. Professional-grade systems rely on a strategic stack of materials where each layer serves a specific purpose. The vinyl flakes aren't just for aesthetics; they provide essential slip resistance and hide minor slab imperfections that a flat coating would highlight. Finally, the polyaspartic topcoat acts as a sacrificial layer. It takes the brunt of hot tires, road salts, and chemical spills, keeping the decorative layer pristine. This multi-layered defense is the only way to transform a peeling mess into a durable masterpiece that stands the test of time.
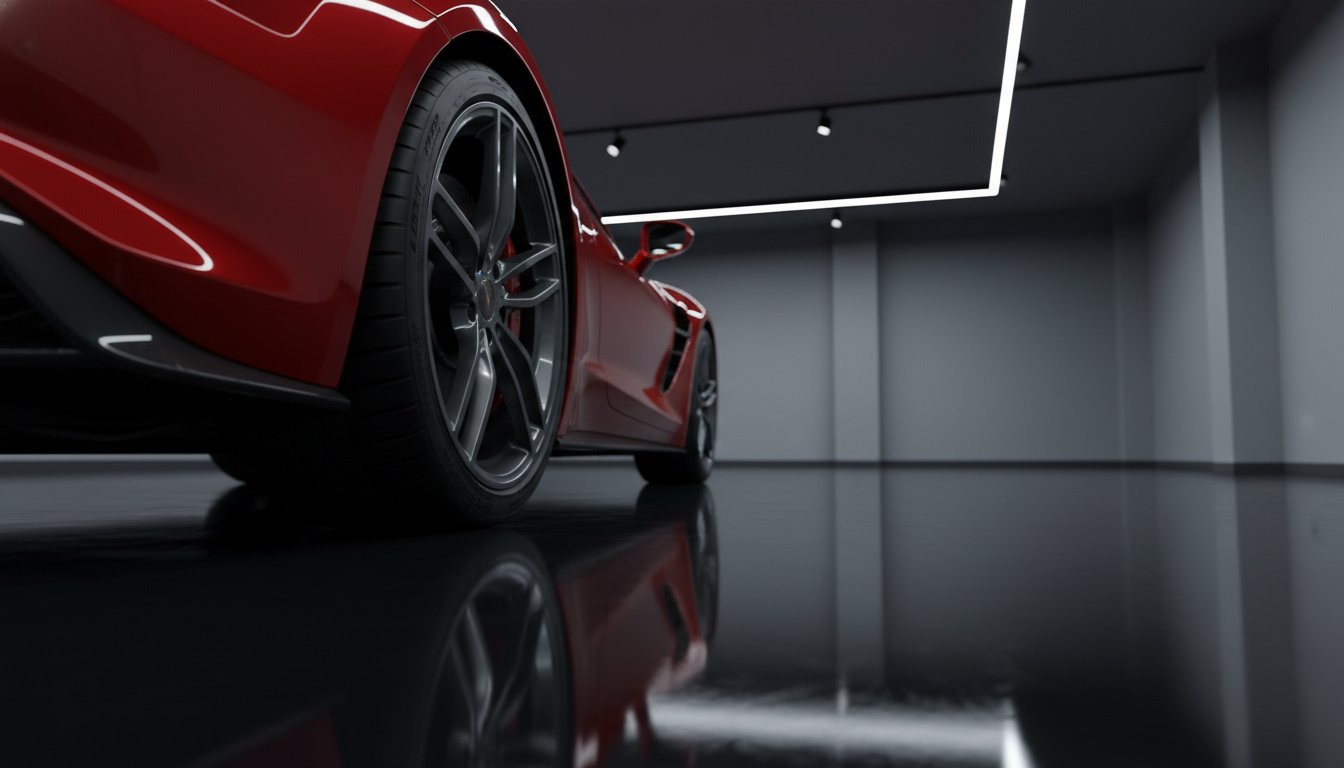
Illuminated Coatings: Transforming Failed Concrete into Masterpieces
We don't just see a slab of concrete; we see a canvas that defines the character of your home. For our team, every project is a professional survival mission. Our reputation is built on the durability of our work, and we treat every restoration as a high-stakes commitment to excellence. If your current floor is failing, it's a sign that the original approach lacked the artisan mindset required for a permanent bond. When you're researching how to fix peeling garage floor epoxy, you deserve a solution that prioritizes craftsmanship over a quick fix. We aim to illuminate every dull, flaking space with a finish that becomes a genuine point of pride for your family.
Our dedication to transformation means we look beyond the standard bucket of resin. We understand the emotional toll of a "patchy" garage. It’s embarrassing to leave the door open when the neighbors walk by. That’s why we focus on total mechanical restoration. If the substrate is prepared with an unwavering focus on quality, then the resulting masterwork will withstand chemicals, hot tires, and the passage of time. We bridge the gap between industrial strength and artistic elegance, ensuring your garage becomes a gallery-quality environment rather than just a storage room.
Beyond Epoxy: Exploring Vuba Stone
Sometimes, traditional epoxy isn't the ideal answer for every environment. In areas like patios or driveways where moisture levels are high, we often recommend Resin-Bound Stone, specifically Vuba Stone. This system utilizes natural stones bound by a high-strength resin to create a porous, "breathable" surface. Because it allows moisture vapor to pass through rather than trapping it underneath, it effectively eliminates the risk of peeling or bubbling. This "Cool-Touch" system provides incredible slip resistance and a sophisticated aesthetic that transforms outdoor concrete into a luxury feature.
The Polished Concrete Alternative
If you prefer an industrial-chic look with almost zero maintenance, Concrete Polishing is the ultimate solution for failed slabs. Instead of adding a layer that could eventually fail, we use heavy-duty diamond grinders to hone your existing concrete to a high-gloss, mirror-like finish. This process densifies the stone from within, making it resistant to oil stains and tire marks without the need for a topical coating. There is simply nothing to peel, ever. It is a permanent architectural statement that celebrates the raw beauty of your home’s foundation. Ready for a floor that lasts? Consult with the experts at Illuminated Coatings to discover which professional restoration path is right for your property.
Reclaim Your Garage with a Gallery-Quality Masterpiece
Your garage floor is more than just a place to park; it's a vital part of your home that deserves a finish as resilient as it is beautiful. We've explored the science of mechanical bonds and the critical role of precision diamond grinding in reaching healthy concrete. You now understand that the secret to how to fix peeling garage floor epoxy lies in moving beyond thin DIY kits and embracing industrial 100% solids systems. Whether you choose a high-performance resin or a breathable Vuba stone alternative, the goal is a transformation that stands the test of time.
As a family-owned and operated business, we treat every slab as a personal mission. We are specialists in high-performance Vuba stone and epoxy who believe in the integrity of a job done right the first time. If you're ready to trade those embarrassing flakes for a durable, showroom-ready surface, we're here to lead the way. Our artisan mindset ensures your bond is guaranteed and your aesthetic is unmatched. We take pride in elevating manual labor into a form of craftsmanship that protects your investment.
Get a Professional Quote to Restore Your Garage Floor and let's turn your failed concrete into a point of pride. Your property has incredible potential, and we're excited to help you unlock it.
Frequently Asked Questions
Can I just sand the peeling spots and put new epoxy over them?
No, sanding localized spots is a temporary fix that fails to address the widespread bond issues typical of a peeling floor. If the original coating is lifting in one area, it's highly likely the rest of the floor lacks the necessary mechanical bond to stay attached. Applying new resin over a failing foundation creates a "ledge" that eventually chips and pulls away, leaving you back at square one within months.
How long does it take for a professional to fix a peeling garage floor?
A professional restoration typically takes 2 to 3 days to complete. The first day is dedicated to the labor-intensive process of grinding away the old coating and repairing cracks. Day two involves applying the high-solids base and decorative flake, while the final day is reserved for the high-performance polyaspartic topcoat. This timeline ensures every layer cures correctly for maximum durability.
Why did my epoxy peel even though I used the acid etch kit provided?
Acid etching often fails because it only cleans the surface without creating the deep pores required for a permanent bond. Hard-troweled or dense concrete slabs are particularly resistant to acid, resulting in a surface that is still too smooth for the resin to "bite" into. Additionally, any leftover acid residue that isn't perfectly neutralized will chemically reject the new coating, leading to the very failure you were trying to avoid.
Is it cheaper to fix a peeling floor or start from scratch?
While a full restoration has a higher upfront cost, it is significantly cheaper than repeated spot repairs over several years. When you're looking for how to fix peeling garage floor epoxy, the only way to stop the cycle of spending is to remove the failed material entirely. Investing in a professional system once prevents the cumulative expense of buying multiple DIY kits and the eventual cost of professional removal later on.
What is the best temperature to apply a garage floor coating to prevent peeling?
The ideal temperature range for applying high-performance coatings is between 50°F and 85°F. If the slab is too hot, the resin cures too quickly and cannot properly wick into the concrete pores. Conversely, extreme cold can stall the chemical reaction entirely, leaving the coating soft and prone to delamination. Professionals monitor both air temperature and slab moisture to ensure the environment is perfect for a lifelong bond.
Can moisture in my concrete slab cause the epoxy to bubble and lift?
Yes, moisture vapor transmission is a leading cause of coating failure in many residential garages. Concrete is a porous material that allows ground moisture to rise to the surface as vapor. If this vapor is trapped under a non-breathable epoxy, it creates hydrostatic pressure that forces the coating to bubble and detach. We use moisture-tolerant primers and specialized testing to ensure your slab is a safe candidate for a sealed system.
How do I know if my concrete needs to be ground or just cleaned?
If your concrete has an existing coating, oil stains, or a smooth "shiny" finish, grinding is mandatory. Cleaning alone cannot remove the "laitance," which is the weak top layer of concrete that prevents epoxy from sticking. A professional grind creates a texture similar to 60-grit sandpaper, which is the industry standard for ensuring how to fix peeling garage floor epoxy and achieving a gallery-quality result.
What is the difference between epoxy and polyaspartic coatings?
Epoxy is an excellent primer and base coat because of its superior adhesion to concrete, but it can yellow and become brittle when exposed to UV light. Polyaspartic is a high-performance topcoat that is four times more abrasion-resistant than standard epoxy. It remains flexible, won't yellow in the sun, and cures much faster, allowing you to get back on your floor in a fraction of the time required for traditional systems.